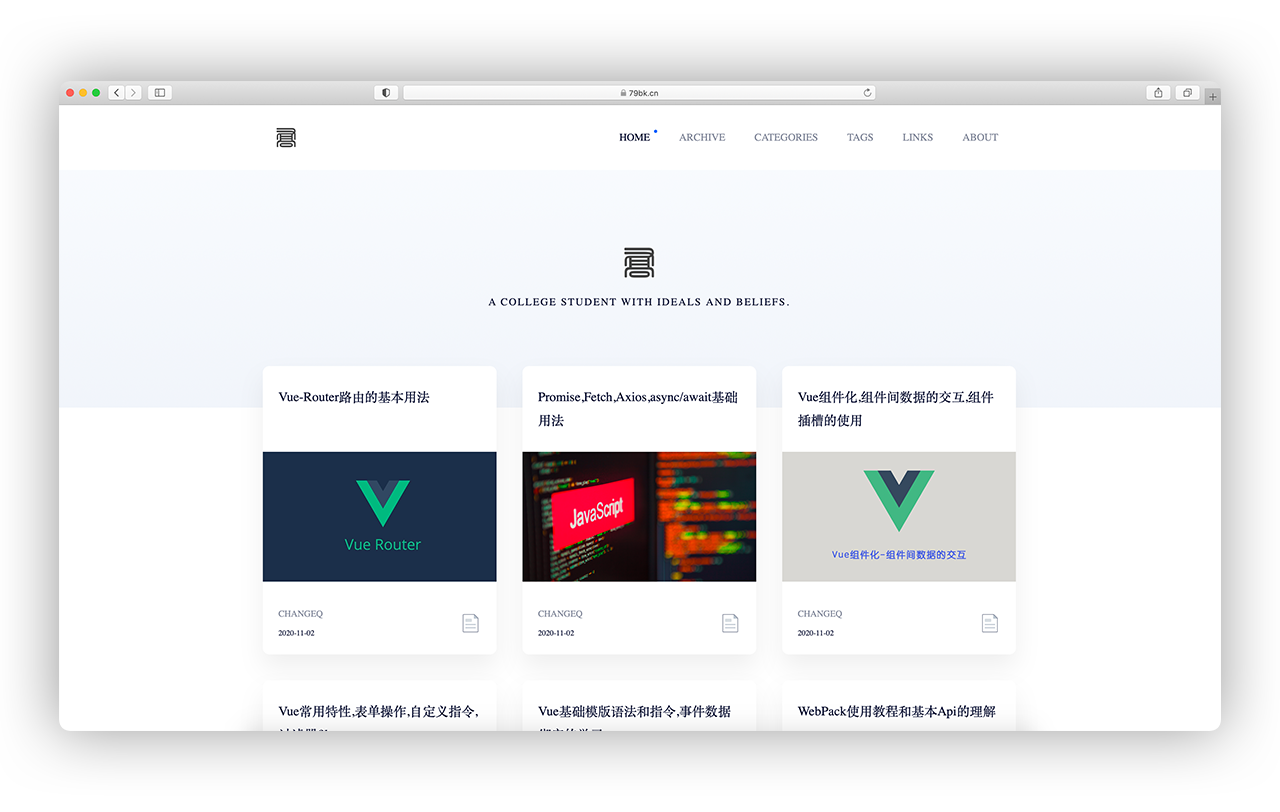
一款简约扁平化的 Hexo 主题
### ⛱预览Dome
- [Taire's Blog](https://blog.taire.de)
- [neo's Blog](https://www.shbo.xyz)
### 🚁快速使用
[English Documents](https://github.com/79e/hexo-theme-quiet/blob/master/README-EN.md)
我们首先下载主题
```
$ git clone https://github.com/79e/hexo-theme-quiet.git
```
然后我们修改Hexo根目录下的 `_config.yml` 文件启用 Quiet 主题:
(大概在最后的位置 --- 你需要将下载下来主题文件放在 themes里面并且将名字修改为 Quiet )
```
theme: Quiet
```
建议将每页展示的文章数量设置为 每页9篇
```
index_generator:
path: ''
per_page: 9
order_by: -date
// 下面还有个 10 的 修改为 9
per_page: 9
pagination_dir: page
```
将下面此项设置为跟我一样即可显示文章的代码高亮
```
# 我的配置
highlight:
enable: false
line_number: false
auto_detect: true
tab_replace: ''
wrap: true
hljs: true
prismjs:
enable: false
preprocess: true
line_number: true
tab_replace: ''
```
#### 🏠首页布局
```
# 首页文章布局 默认 'card' 可选择 'block-card'
home_layout: card
```
#### 🔧标签页
进入根目录下的`source`文件夹下创建`tags`文件夹新建`index.md`文件
```
---
title: tags
date: 2020-09-19 16:19:22
layout: "tags"
---
```
#### 🏂简介页
进入根目录下的`source`文件夹下创建`about`文件夹新建`index.md`文件
```
---
title: 个人简介
date: 2020-11-03
aubot: Cange-Q
portrait: 'https://cdn.jsdelivr.net/gh/duogongneng/MyBlogImg/imgIMG_7327.jpeg'
describe: '一个阳光快乐的BOY,在正合适的年龄里希望遇见正好的你。'
type: "about"
layout: "about"
comments: false
---
```
**解释**
`aubot` :博主名称显示在 About 页面的最上面
`portrait` :头像
`describe` :简介(简短的描述下你自己)
`comments`: 是否开启评论
其他的不需要修改
**内容**
在简介页面你可以写很多的东西 你可以向写文章一样去写你的简介
你只需将内容写在 `about`文件夹下`index.md`文件里面
#### 🎉友情链接
进入根目录下的`source`文件夹下创建`links`文件夹新建`index.md`文件
```
---
title: 友情链接
date: 2020-09-19
type: "links"
layout: "links"
comments: false
---
```
**内容**
你可能需要描述你的友情链接 那么你就需要将你想要描述的内容写在`links`文件夹下的`index.md`文件内
你会发现和 简介页 内容写法是一样的
#### 🎪分类页
进入根目录下的`source`文件夹下创建`categories`文件夹新建`index.md`文件
```
---
title: 文章分类
date: 2020-11-02
type: categories
layout: categories
---
```
### 📖发布文章
你需要在发布文章的时候写标头
```
title: 一个简约扁平化的Hexo静态主题博客-Quiet
comments: false
categories: 项目案例
aubot: Cange-Q
aubot_link: 'https://github.com/79E/hexo-theme-quiet'
tags:
- Hexo
- Quiet
- 主题
- 静态主题
excerpt: 采用简约大方的扁平化Hexo-Quiet主题
toc: false
date: 2020-11-03 20:33:36
cover: 'https://cdn.jsdelivr.net/gh/duogongneng/MyBlogImg/imgQuietView.png'
```
**解释**
`title`:文章标题
`categories`:分类(最好只写一个)
`tags`:标签可以多个
`excerpt`:描述
`toc`:是否显示文章目录(默认值false)
`date`:创建日期
`cover`:缩略图(你不填就用默认的了)
`comments`: 是否开启评论
`aubot`:作者名称 不设置默认为配置文件里面的名称
`aubot_link`:在文章页面点击作者名称跳转的地址 默认跳转到关于我的页面
### 🏆主题配置
我们进入主题根目录下的`themes`文件夹下的`Quiet`文件里面的`_config.yml`配置文件
我们可以在里面 设置网站的标题,各种Logo图标
**添加友情链接**
在此配置文件中有个 `linksList` 我们可以仿照着去添加你的友情链接
### 💌评论配置
这里采用的是 `gitalk` 一个基于 Github Issue 和 Preact 开发的评论插件
我们只需要在 `Quiet `主题文件里面的`_config.yml`配置文件的 `gitalk` 进行配置
首先,您需要选择一个公共github存储库(已存在或创建一个新的github存储库)用于存储评论,
然后需要创建 **GitHub Application**,如果没有 [点击这里申请](https://github.com/settings/applications/new),`Authorization callback URL` 填写当前使用插件页面的域名。
**配置项:**
- **clientID** `String`
**必须**. GitHub Application Client ID.
- **clientSecret** `String`
**必须**. GitHub Application Client Secret.
- **repo** `String`
**必须**. GitHub repository.
- **owner** `String`
**必须**. GitHub repository 所有者,可以是个人或者组织。
- **admin** `Array`
**必须**. GitHub repository 的所有者和合作者 (对这个 repository 有写权限的用户)。
*提示:只有在文章页面和友情链接页面,关于我的页面有评论功能。*
### 📈百度统计
我们需要配置好 百度统计 生成key 即可
### 🔎问题
- **css 样式没有加载出来**
本主题使用 `less ` 对 `css` 进行处理 所以依赖 `hexo-renderer-less` 安装后重新编译即可
```
npm i hexo-renderer-less
```
- **ejs 作为 模版语言**
```
npm i hexo-renderer-ejs
```
### 📝 License

根据 [MIT](https://github.com/79e/hexo-theme-quiet/blob/master/LICENSE) 协议开源
